Overview
To reach learners effectively, it is important that all instructional content added to D2L Brightspace meets the Web Content Accessibility Guidelines (WCAG 2.1 AA). The guidelines outline how to make web content accessible to a broad range of learners, including but not limited to people with disabilities. Meeting WCAG 2.1 AA is required under Section 504 and Title II Regulations.
Many content creation tools provide accessibility checking features that will help you ensure your content meets the guidelines. This help page contains step-by-step instructions on using accessibility checkers for the following content types within D2L Brightspace.
What you need to know…
- Meeting WCAG 2.1 AA is required under Section 504 and Title II Regulations.
- Common accessibility issues with D2L Brightspace content include:
- Not organizing content with appropriate heading styles
- Not using list elements when creating lists
- Insufficient contrast between text and the background color
- Lack of alternative text on non-text content such as images
- Lack of header cells on tables
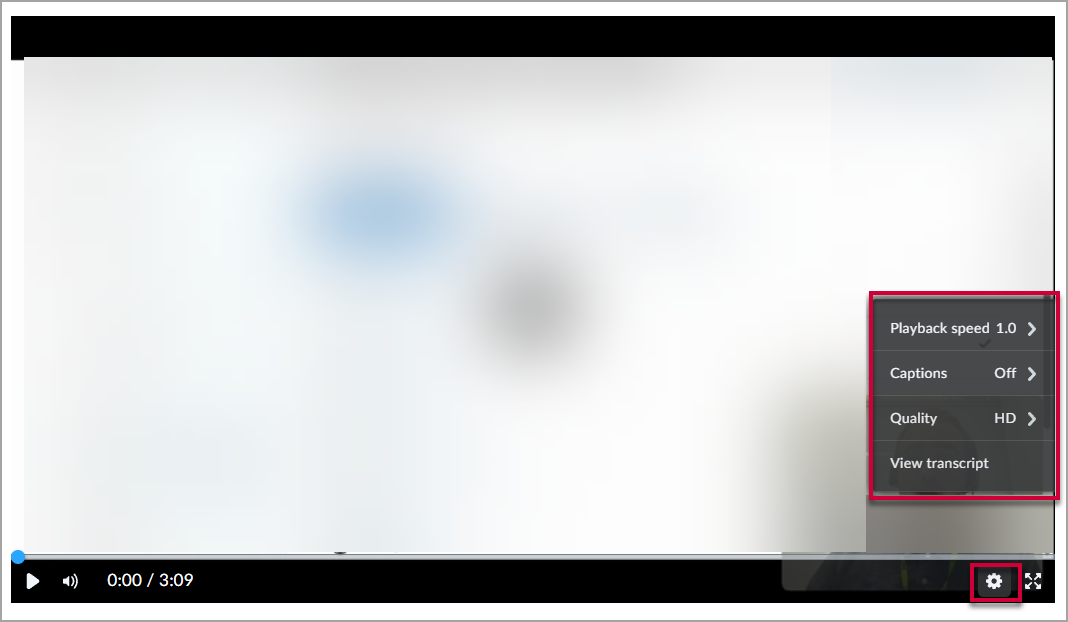
- Lack of transcript or captioning for video and audio files
- Accessibility checkers built directly into D2L Brightspace and applications such as Microsoft Word and PowerPoint can help you identify and remediate accessibility issues quickly and easily, but still require your oversight and review to be accurate.
HTML pages
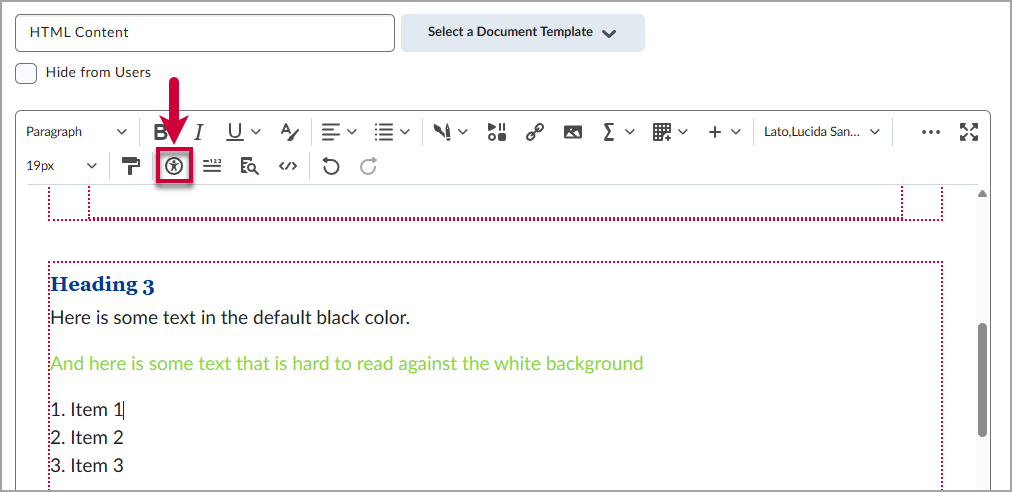
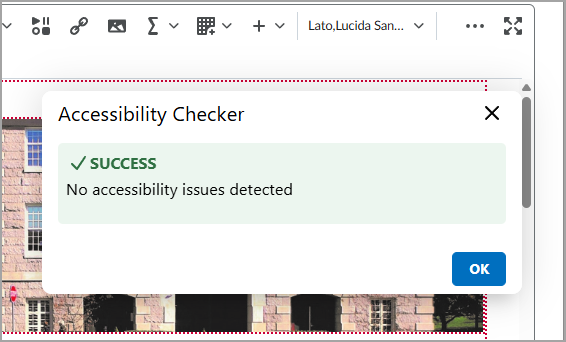
- While editing an HTML content page, select the Accessibility Checker option from the toolbar of the content editor (the icon looks like a person surrounded by a circle). Note that you may need to first select the Ellipses icon to expand the tool bar and make this option visible.
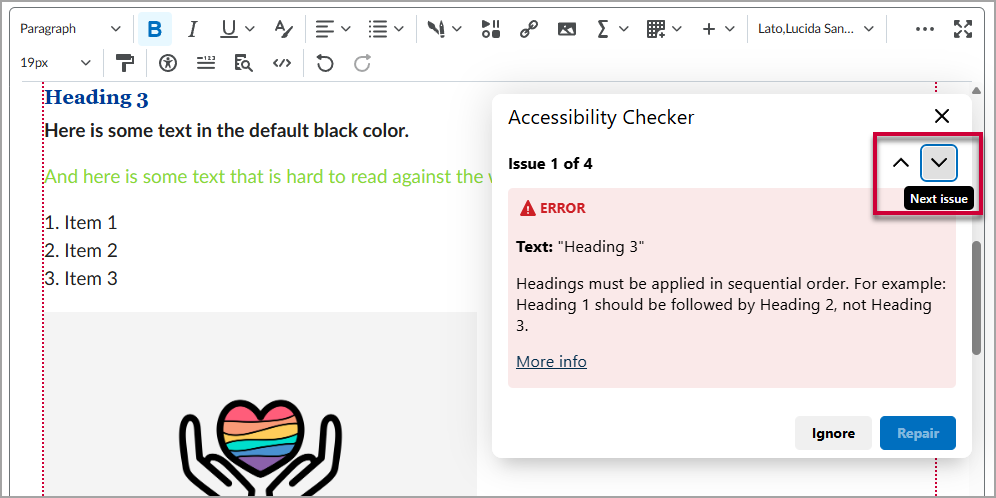
- An “Accessibility Checker” window will pop up with the list of potential accessibility issues, each labeled as either an “Error” or a “Warning”. You can scroll through the issues using the up and down arrows on the right side of the window.
-
The window provides
- Information about the identified issue and how to fix it
- A More info link to information from the W3C
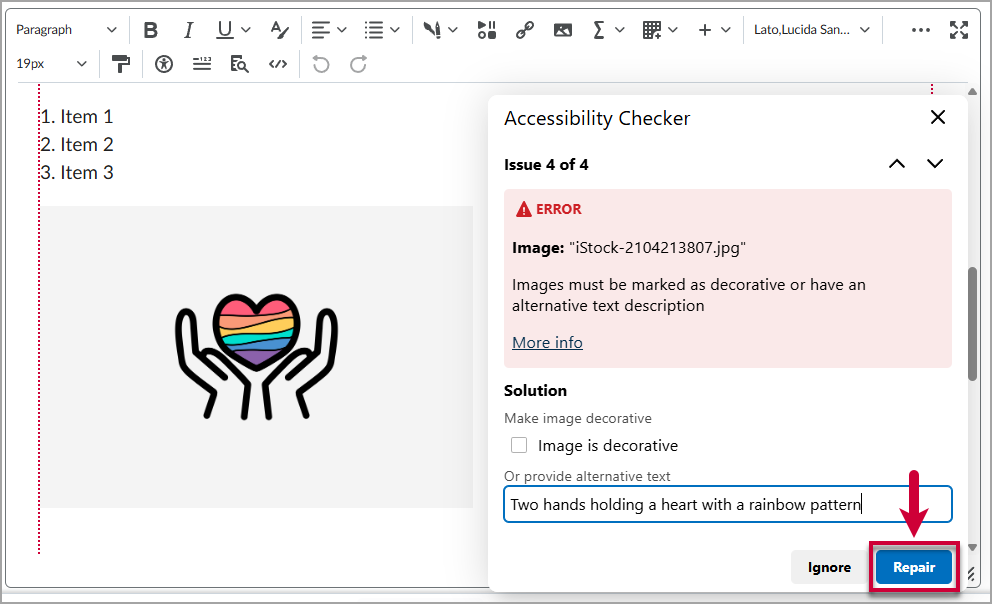
- For some issues, a quick Solution. For instance, if an image does not have alternative text, you can add it right within the “Accessibility Checker” window and then click the blue Repair button
-
For other issues, you will need to close out of the Accessibility Checker and continue editing the content page directly to address the issues. Once you have addressed the issues, use the accessibility checker again to confirm that the issues have been addressed or identify further remediation needed.
Word documents
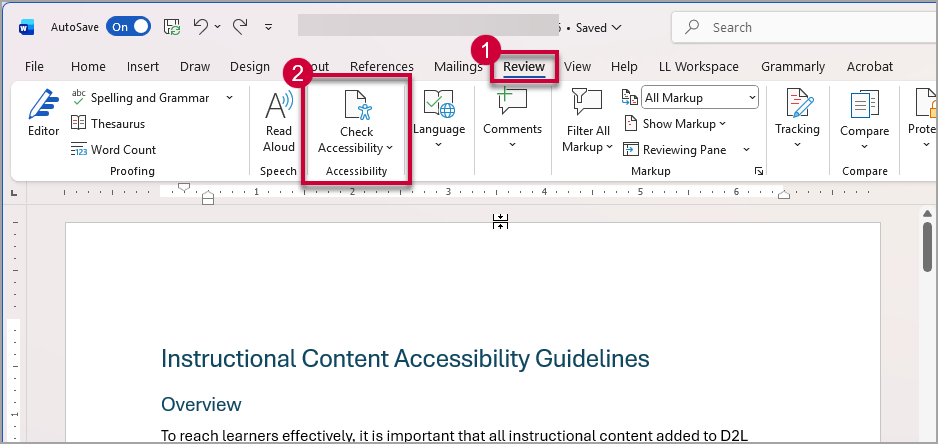
- In Microsoft Word, select the Review tab (1) and then click Check Accessibility (2). This will open an Accessibility Assistant window on the right side of your document.
- In the Accessibility Assistant window, you will see 5 categories of potential accessibility issues. You will be able to see the number of flags in each category.
• Color and Contrast
• Media and Illustrations
• Tables
• Document Structure
• Document Access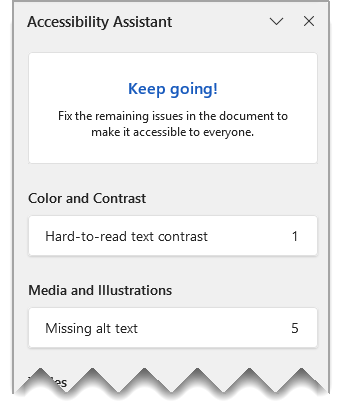
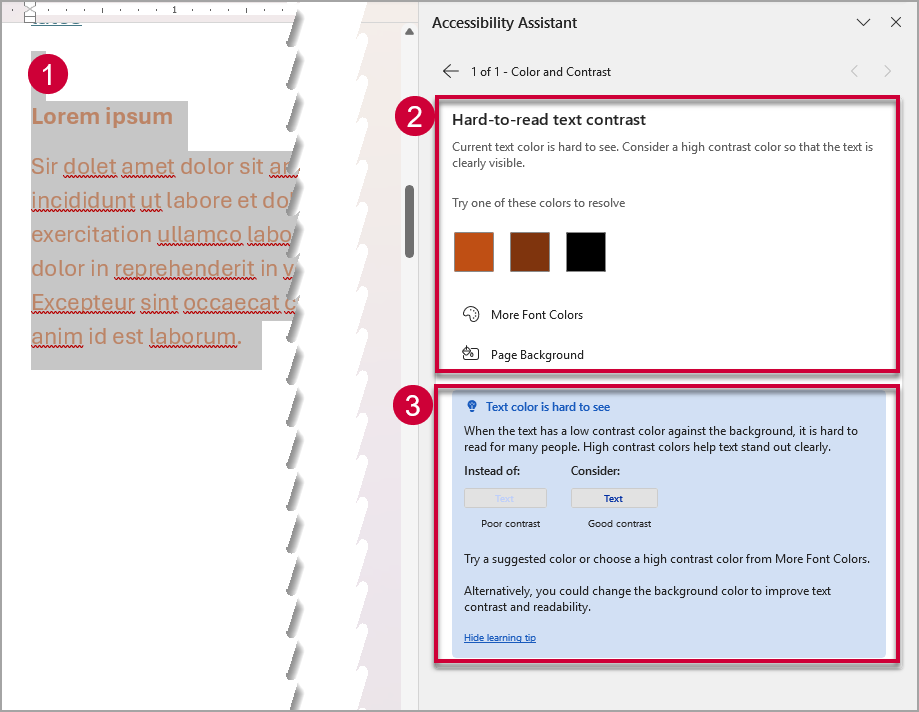
- Select the issues identified to learn more about them. When you select one, Word will take you to the relevant location in the document (1), show you a brief explanation and suggested resolution(s) (2), and provide you the option to learn more about the accessibility issue (3).
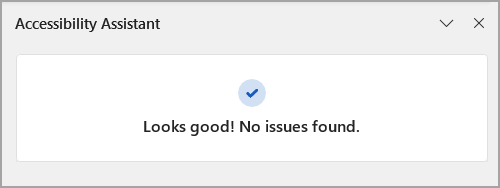
- Once you address all the issues listed, Word will provide you confirmation of this in the Accessibility Assistant by saying “Looks good! No issues found.”
PowerPoint files
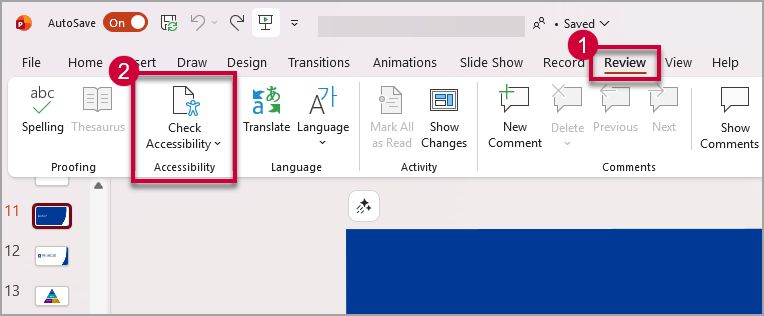
- In Microsoft PowerPoint, select the Review tab (1) and then click Check Accessibility (2). This will open an Accessibility Assistant window on the right side of your file.
-
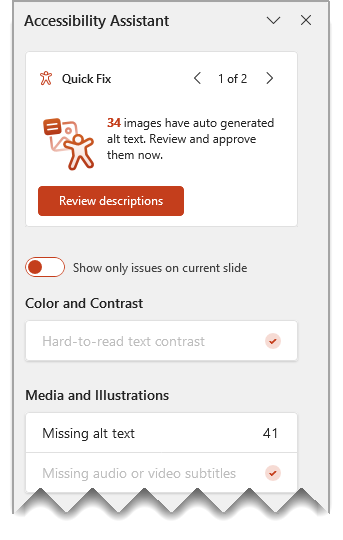
In the Accessibility Assistant window, you will see 5 categories of potential accessibility issues. You will be able to see the number of flags in each category.
- Color and Contrast
- Media and Illustrations
- Tables
- Document Structure
- Document Access
You will also see a toggle to show all issues throughout the presentation or just those on the current slide.
- Select the issues identified to learn more about them. When you select one, PowerPoint will take you to the relevant location in the presentation (1), show you a brief explanation and suggested resolution(s) (2), and provide you the option to learn more about the accessibility issue (3).

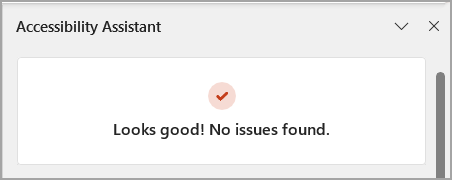
- Once you address all the issues listed, Word will provide you confirmation of this in the Accessibility Assistant by saying “Looks good! No issues found.”
PDFs
Note: Remediating PDF accessibility issues requires Tungsten PowerPDF. If you need help accessing this software, please open a ticket at https://helpdesk.mghihp.edu
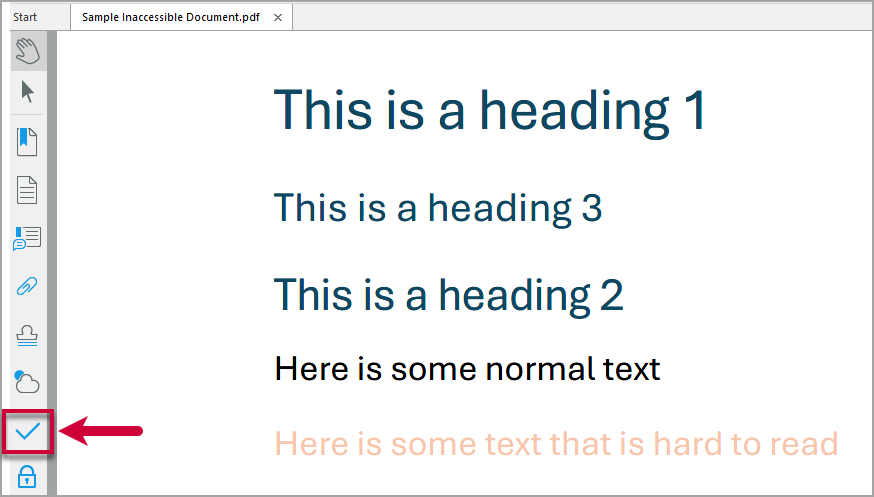
- Open your PDF file in Tungsten PowerPDF. Then select the Compliance panel (denoted by the checkmark icon) from the left tool bar.
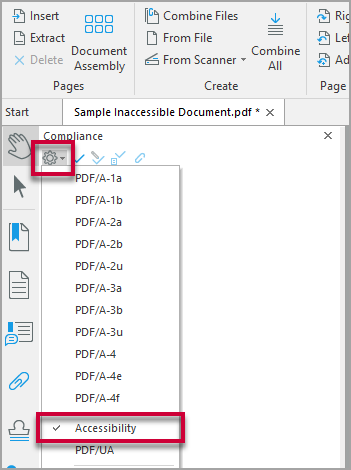
- Next, set the compliance checker to Accessibility. Select the gear icon in the Compliance panel and Accessibility from the dropdown menu.
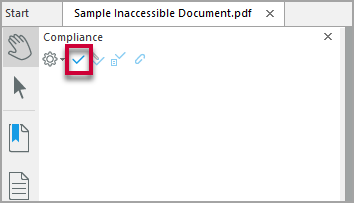
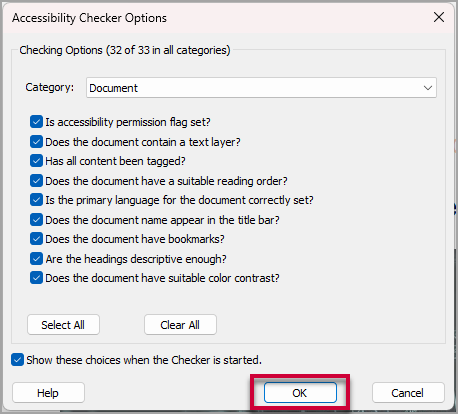
- Then, select the small checkmark icon in the Compliance panel to start the accessibility check. An “Accessibility Checker Options” box will pop-up. You can adjust the settings as desired, but this is not required. When you are ready, select the OK button.
-
Once the Accessibility Checker finishes running, you will see the report in the Compliance panel, with issues highlighted. The categories of potential accessibility issues include:
- Document
- Page Content
- Forms
- Alternate Text
- Tables
- Lists
- Headings
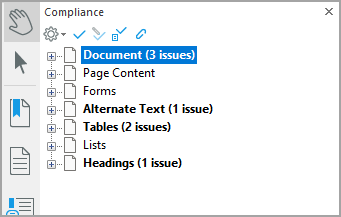
- To begin remediating, expand the categories with issues and right-click on the specific issues. This will bring up a menu with context-specific options. In general, this menu will help you to remediate the issue, find explanations for the issue, or skip the issue (Not recommended).
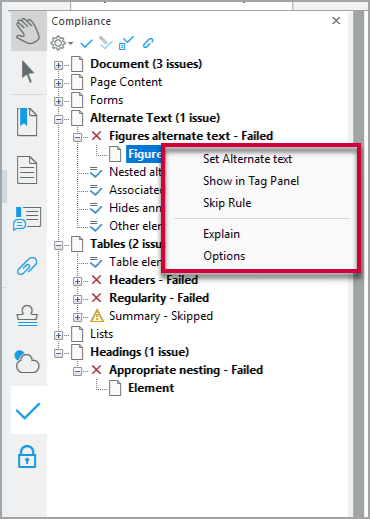
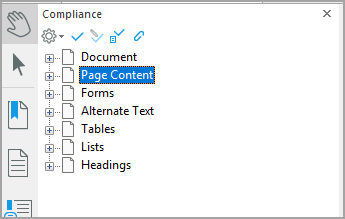
- Once you have remediated all issues, the Compliance panel will show every item passing.
A note on article PDFs
It is best practice to link to external resources, such as journal articles, rather than making a PDF copy of them to add to the course. This both respects copyright and ensures that the resources remain accessible. For questions about copyright and creating permalinks to articles in the library, please reach out to the Bellack Library.
Videos
Note: This guide is for making videos that you own/have created accessible. Videos from external sources, such as YouTube, should have their own automated captioning solution.
- First, ensure that your video is in the D2L Media Library tool. More information on adding videos to the Media Library can be found on the following page of our D2L Brightspace help site: Media Library page.
Note that depending on how you create/upload the video, you may be given the opportunity to auto generate captions when adding the video.
- Once the video is added, you can add or check your existing captions by navigating to the Media Library and editing the video. The following page of our D2L Brightspace help site provides further details: Add Captions to Audio/Video Files page
-
It is always a good idea to review captions after they have been generated to ensure accuracy. Pay particular attention to proper nouns and uncommon words that may not be translated to text accurately. Once this is done, learners will be able to access accurate captions and transcription from the video player wherever the video is added in D2L Brightspace.