
Overview
Each course in D2L Brightspace has an image associated with it. You can change this image by either selecting an image from D2L Brightspace’s image library, or by uploading your own image.
Selecting an Image from the Image Library
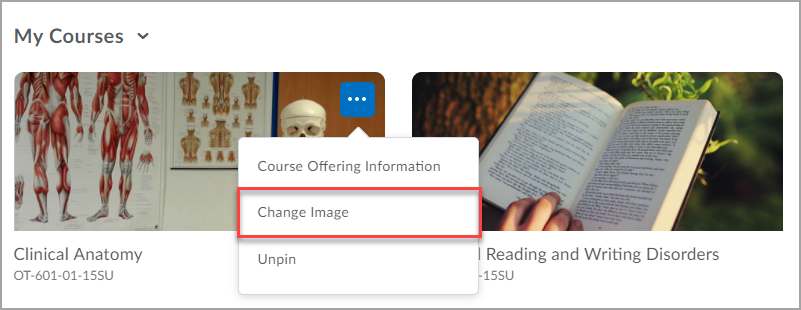
- Hover over the course image you would like to change in the My Courses widget. Click the ellipses button that appears in the top-right corner of image and then click Change Image. This will take you to a new page.
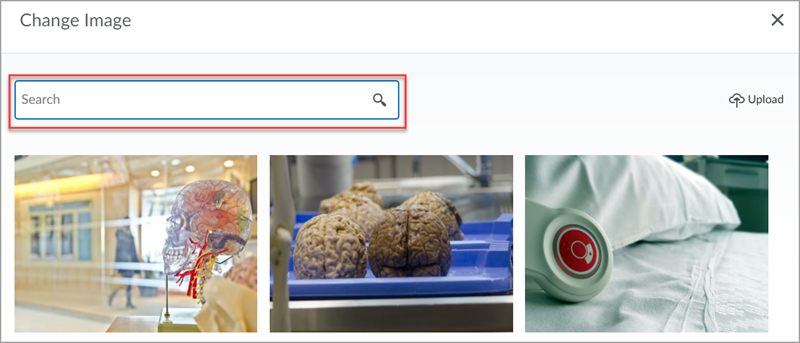
- Use the search bar to enter a keyword (e.g., nurses, skeleton) and then click the magnifying glass icon. This will display all images that meet that keyboard.
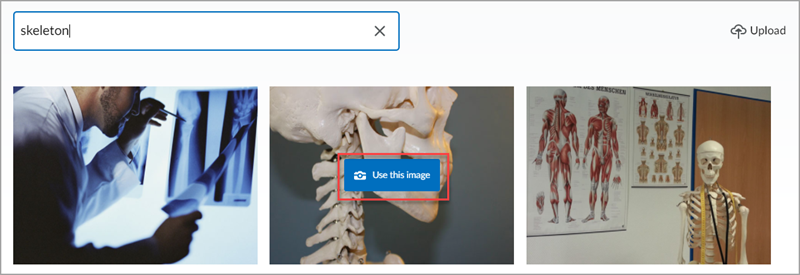
- Search through the images. When you find an image you like, hover over the image. A button labeled Use this image will appear. Click the button to make this the course image. You will then return to the D2L Brightspace Home page.
Uploading an Image
- Hover over the course image you would like to change in the My Courses widget. Click the ellipses button that appears in the top-right corner of image and then click Change Image. This will take you to a new page.
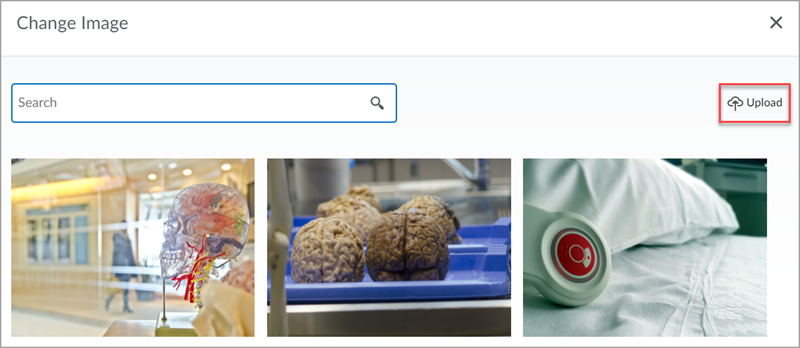
- On the new page, click the Upload link in the top-right corner of the page. This will take you to the Course Offering Information page.
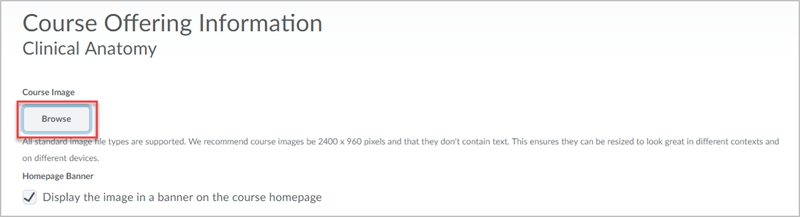
- On the Course Offering Information page, click the Browse button towards the top of the page. This will open a pop-up window.
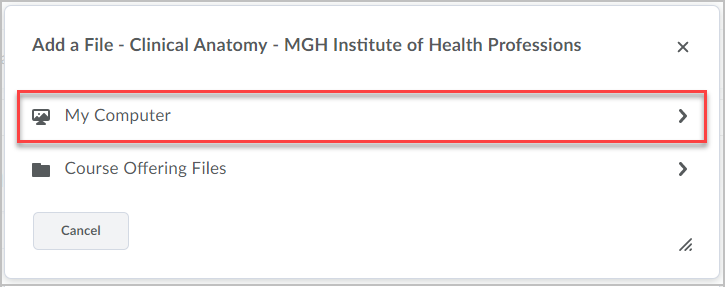
- Click My Computer to select a file from your computer.
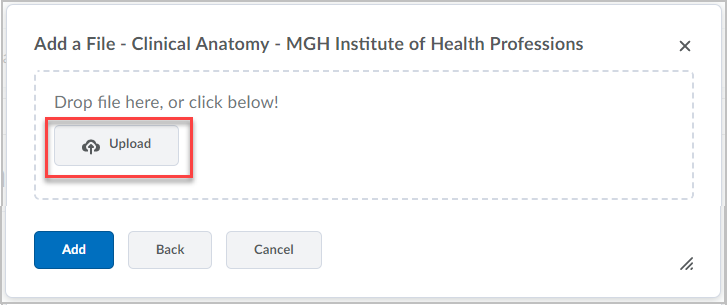
- Click the Upload button and find the image you would like to add.
NOTE: It is recommended that the image is 2400 by 960 pixels.
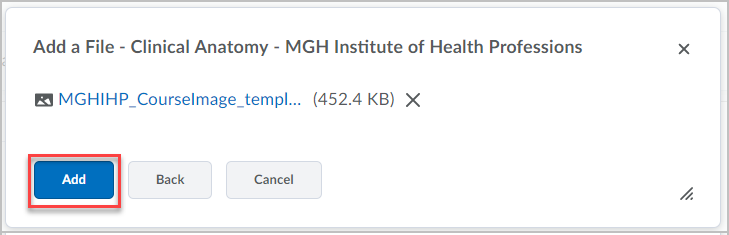
- Click the Add button in the bottom-left corner of the pop-up window.
- Click the Save button at the bottom of the Course Offering Information page to make the uploaded image the course image.